
yuns
[React] 기본 문법 본문
반응형
기본 프로젝트는 아래 명령어로 실행한다.
npx create-next-app@latesthttps://react.dev/learn 를 보고 처음 코드를 입력해보았다.
웹사이트에서 첫 페이지로 layout.tsx파일을 접근한다.
import type { Metadata } from "next";
import { Inter } from "next/font/google";
import "./globals.css";

const inter = Inter({ subsets: ["latin"] });

export const metadata: Metadata = {
  title: "Create Next App",
  description: "Generated by create next app",
};

export default function RootLayout({
  children,
}: Readonly<{
  children: React.ReactNode;
}>) {
  return (
    <html lang="en">
      <body>{children}</body>
    </html>
  );
}- export default function RootLayout() 함수를 보면,
- children이 있는데 이 children 이 page.tsx를 가르키게 된다.
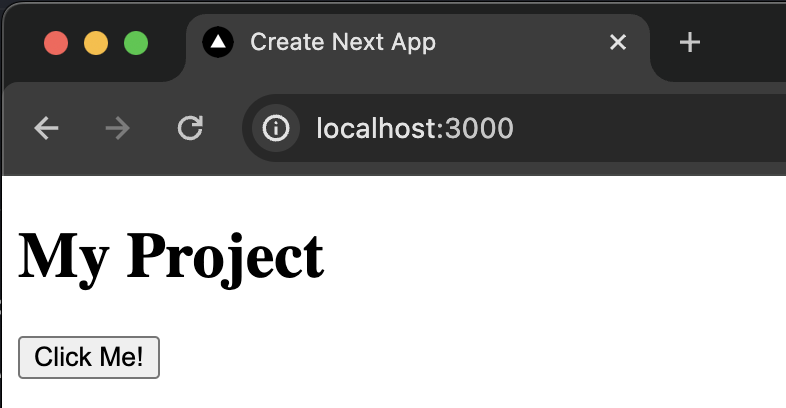
page.tsx에서 아래와 같은 코드를 입력해보자
- export default: javascript/typescript에서 main함수와 같은 역할을 함
- <MyButton />: 선언한 함수를 호출할 수 있음
- return(); 함수
function MyButton() {
  return (
    <button>
      Click Me!
    </button>
  );
}

export default function MyApp() {
  return (
    <div>
      <h1>My Project</h1>
      <MyButton />
    </div>
  );
}
여러 tag를 반환받고 싶을 때는 빈 tag로 묶을수도 있다.
function AboutPage(){
  return (
    <>
      <h1>About</h1>
      <p>Hello there. <br /> How do you do?</p>
    </>
  );
}
CSS 추가하기
- globals.css에 아래와 같은 코드를 추가해보자
- 아래 코드는 이미지에서 각이 있는 부분을 곡선형태로 나타낼 것이며 그 곡선의 정도를 얼마정도로 할 것인지를 나타낸다.
.avatar {
border-radius: 50%;
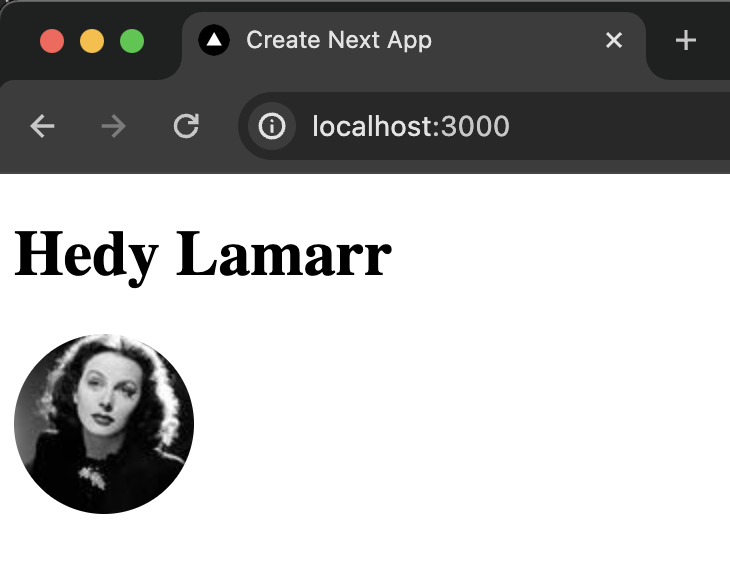
}page.tsx파일을 바꿔보자
- <img className="avatar"/>: css파일에서 선언한 avatar를 사용하기
const user = {
  name: 'Hedy Lamarr',
  imageUrl: 'https://i.imgur.com/yXOvdOSs.jpg',
  imageSize: 90,
};

export default function Profile() {
  return (
    <>
      <h1>{user.name}</h1>
      <img
        className="avatar"
        src={user.imageUrl}
        alt={'Photo of ' + user.name}
        style={{
          width: user.imageSize,
          height: user.imageSize
        }}
      />
    </>
  );
}
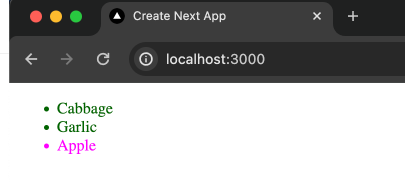
Rendering Lists
- rendering: 화면상에 나타내는 것
const products = [
  { title: 'Cabbage', isFruit: false, id: 1 },
  { title: 'Garlic', isFruit: false, id: 2 },
  { title: 'Apple', isFruit: true, id: 3 },
];

export default function ShoppingList(){
  const listItems = products.map(product=>
    <li key={product.id} style={{color:product.isFruit ? 'magenta': 'darkgreen'}}>
      {product.title}
    </li>
  );
  return (
    <ul>{listItems}</ul>
  );
}- style={{color:product.isFruit ? 'magenta': 'darkgreen'}}
- product.isFruit가 true면 색을 magenta, 아니면 darkgreen 색으로 변환
- map함수: product의 배열을 <li>의 배열로 나타냄
- key에는 unique한 identifier가 들어가야 함 (database ID와 같은: insert, delete, reorder the items)
Responding to events
'use client';

function MyButton() {
  function handleClick() {
    alert('You clicked me!');
  }

  return (
    <button onClick={handleClick}>
      Click me
    </button>
  );
}

export default function MyApp() {
  return (
    <div>
      <h1>My Project</h1>
      <MyButton />
    </div>
  );
}
- 맨 윗줄의 코드인 'use client';를 작성하지 않으면 아래와 같은 에러가 나온다.
- 이는 Next 13의 기본 구성 요소는 서버쪽이기 때문에 client쪽과 상호작용하기 위해서 작성해주어야 한다.
Unhandled Runtime Error
Error: Event handlers cannot be passed to Client Component props.
  <button onClick={function handleClick} children=...>
                  ^^^^^^^^^^^^^^^^^^^^^^
If you need interactivity, consider converting part of this to a Client Component.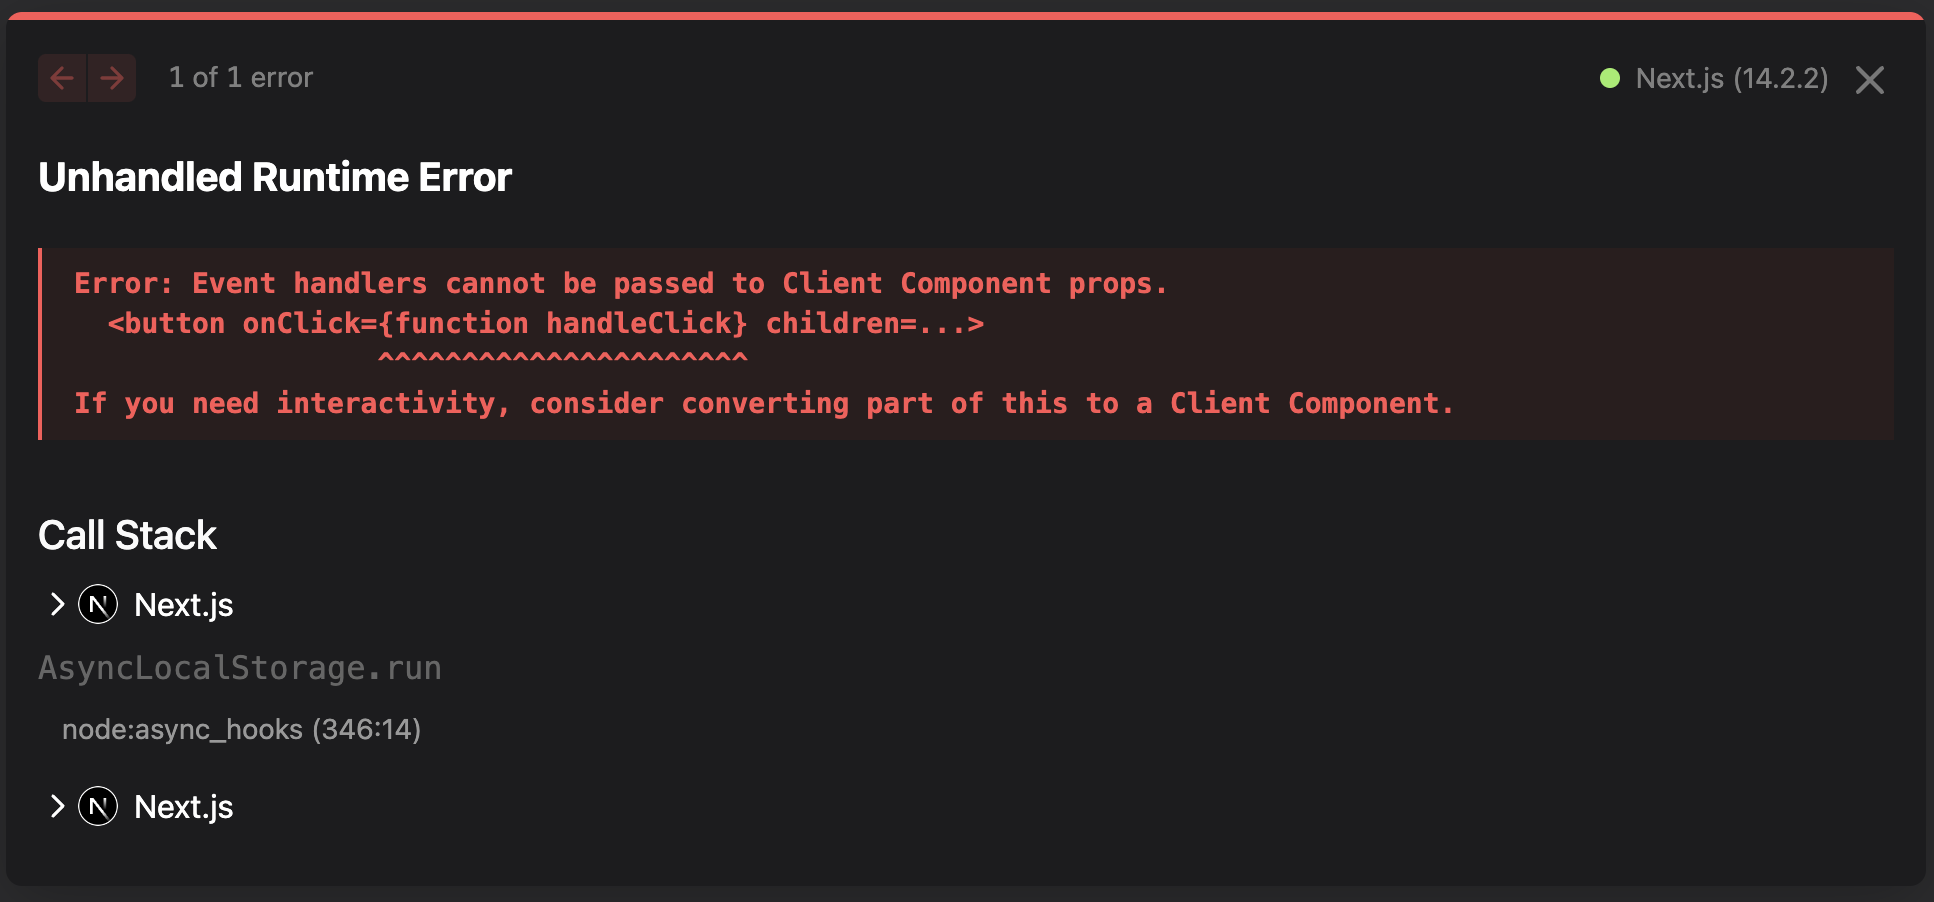
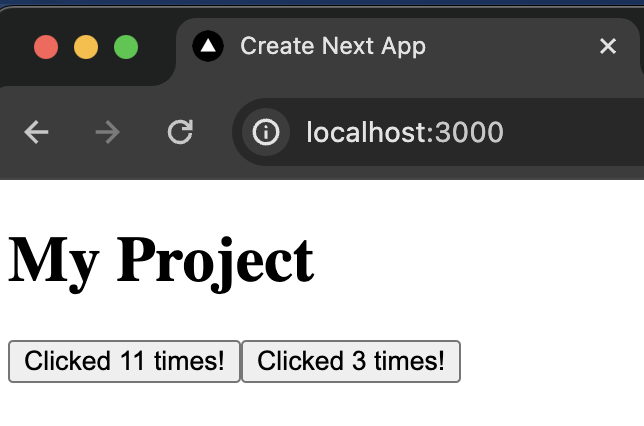
Updating the screen
버튼을 눌러서 숫자 올리기
"use client";
import { useState} from 'react';

export default function MyApp() {
  return (
    <div>
      <h1>My Project</h1>
      <MyButton />
      <MyButton />
    </div>
  );
}

function MyButton(){
  const [count, setCount] = useState(0);
  function handleClick(){
    setCount(count + 1);
  };

  return (
    <button onClick={handleClick}>
      Clicked {count} times!
    </button>
  );
}
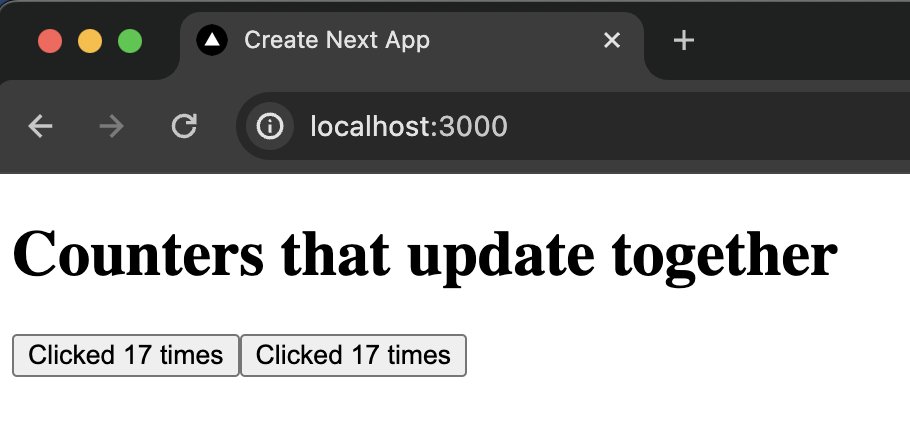
버튼을 누르면 다른 버튼도 올리고 싶을 경우
export default function MyApp() {
  const [count, setCount] = useState(0);

  function handleClick() {
    setCount(count + 1);
  }

  return (
    <div>
      <h1>Counters that update together</h1>
      <MyButton count={count} onClick={handleClick} />
      <MyButton count={count} onClick={handleClick} />
    </div>
  );
}

function MyButton({ count, onClick }) {
  return (
    <button onClick={onClick}>
      Clicked {count} times
    </button>
  );
}
반응형
Comments